|
| |||||||||||||||||||||
|
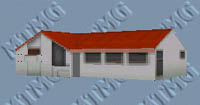
Transparent Models Building or editing models so that parts of it are transparent (see-through) is a two-step procedure. First you have to prepare the texture, and secondly you have to prepare the bin. Only after you work with both the texture and the bin will the transparency work properly in the game. Any model can be transparent, or have transparent parts on it. You can create one from scratch and/or you can edit a model that already exists. For the purpose of demonstrating making a transparent model, I will use the Scottj.bin from the Fly! models. I will take this bin, retexture it, and make the windows so you can see through them. The final product will be ready for use in a track. Part 1 - The Texture If you plan to create a model from scratch, then of course you will know which textures it uses (after all, you will have just made them). But if you plan on editing an existing model, you run into a problem right away. How do you know what textures you need to edit. The solution is simple. Open BinEdit, and call the model in. Now, without another step, goto "Models>Write textures to textfile" on the main menu.  A standard windows box will open, prompting you for a file name. In our case we will call it "Scottj.txt" and then save. Now, in word pad or any text editor, open the file you just saved. In it, the textures the model uses will be listed. For example:  The Scottj.bin uses parts of four textures. Find these textures and their corresponding ACT files in the Art folder and copy them all to a temporary folder. You should have:
Leave these textures here for now, and go back to BinEdit. We still need to know what parts of the textures the Scottj.bin uses. To find out, press the space bar so that the faces turn a pink-ish color. When a face is highlighted (pink) goto "Face>Properties" on the menu.  This will bring up the face property box. You will be able to see where the face is mapped to the texture. Take note of which texture it is, and what part the model uses. You will have to do this for each face of the model. This can be a tedious process, but it's usually easier than it sounds. When you're done, you should be aware of all the parts the model uses for each texture. For example, see here. Now open, into a paint program, the textures you moved to the temporary folder. You will have to crop or otherwise isolate each part of the texture used by the Scottj.bin.
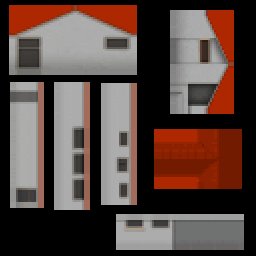
You should end up with something like this. Notice how we've gotten rid of the excess baggage. Now we will arrange these bits and pieces onto a single 256x256 texture. It will probably be best to use a black background for the base of the texture. We end up with this.
Next we will touch up those parts that we want to be transparent.
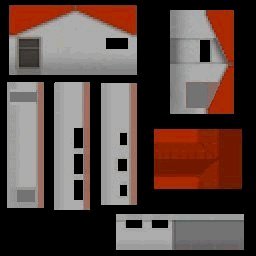
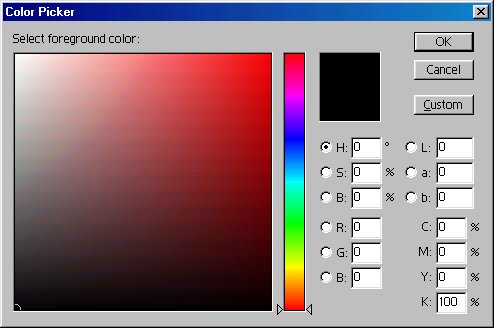
Okay, let's make those windows transparent. For the Scottj.bin the easiest way to do this will be to use the selection tool to form rectangles around the windows, then the fill tool with a high tolerance to ensure a clean and perfect color. We should end up with something like this.
Let's zoom in on a section for a clearer look. Observe the before and after images. Notice the blurred edges around the window in the before picture, and the sharp focus on the after shot.
We want this sharpness. Anything less will have undesirable effects in the game where you will not acheive transparency for the entire area you want.
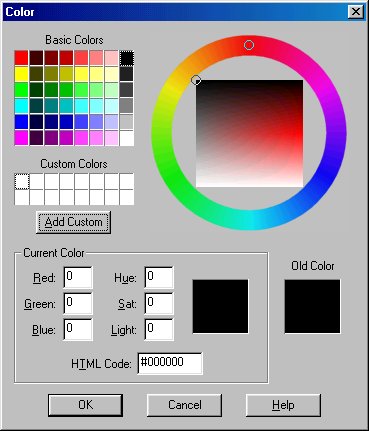
Now save the finished graphic as a RAW file using a unique file name. And remember to save the color palette too.
Copy the RAW and ACT file into the Art folder.
Rename the "Scottj.bin" to something unique. For this example I would call it "pgscott.bin". Open the bin in BinEdit and re-map every face to the new texture you just made. Don't miss a face or you'll drag unwanted extra textures into your game. Finally, set the face type to transparent. Goto Faces>Select All Faces on the menu.  All faces should turn a green color. Goto Groups>Set Group Face Type.  Select the face type you need.
Click ok. Once you're done, goto Faces>Deselect All Faces on the menu.  Save your work. Go try out your new transparent model.
|
